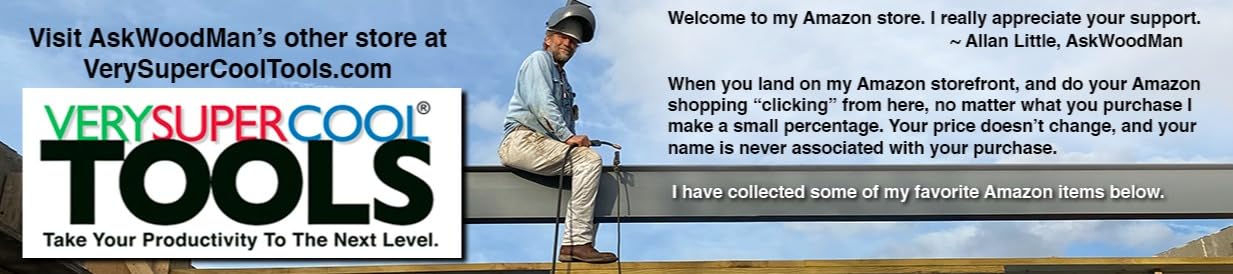
Important Sanding Tip For All Woodworkers

by AskWoodman on June 12, 2010

I have spent thousands of hours sanding. If I could only impart one tip to all woodworkers regarding sanding, it would simply be this,

SAND THE SEQUENCE.

*

Most woodworkers know the secret to a great finished woodworking project is great sanding. If you can resist the urge to start with a higher grit, and start with 80 grit and sand the sequence, it will always save time. Don’t jump ahead and don’t skip steps. I’ve done this and it always ends up taking longer, costing more in abrasives, and it’s frustrating trying to achieve the desired results. These two videos are an introduction to understanding sandpaper and sanding theory. They are the synthesis of my experience to produce the best sanded surface in the least amount of time, for the least amount of money and effort.

What is Sanding The Sequence?

Sanding using each of the grits below in succession.
80 • 100 • 120 • 150 • 180 • 220 • 320

When you start sanding using 80 grit you quickly set the shape and remove machine marks, embedded glue and level uneven joint surfaces. Then you continue sanding using 100, 120, 150, 180, 220, 320 without skipping any of the sequence. Remember,  after this initial shape is set with 80 grit then all the other subsequent sanding grits are only removing the previous grits sanding marks. So, you are not trying to remove material any more, you are only polishing the wood. This is crucial to understand.

Half Sheet Sanders

I have used and worn out more sanders than I can count. What I have finally determined is that half sheet sanders do the best overall job for the investment. I still have a couple random orbit sanders, but I rarely use them. My Festool half sheet sander works perfectly for 90% of my sanding needs. For flat surfaces, half sheet sanders are the best. They are also great for sanding edges and into corners.

Save Money Buying Sandpaper

The best way to purchase sandpaper isn’t at your local hardware store, it’s buying online or at an industrial supply store. Making this one change can save you lots of time and money. I always buy full sheets of paper and cut them down into half sheets myself. (video shows this simple technique). The two types of paper I use and recommend are Mirka and VSM Vitex. I buy Mirka from BeaverTools.com and I buy VSC Vitex from Weatherford Company here in Austin, Texas. (I’m sure they’ll be happy to ship you some paper if you can’t find a local source.) Buying paper 5 sheets at a time pre-packaged is not the most economical way to buy sand paper.

WoodMan’s Tips:

  1. Sand the sequence for a successful finish
  2. Use a half sheet sander
  3. Buy quality sandpaper in full sheets  (Woodman recommends VSM Vitex and Mirka)
  4. Watch my videos for even more details

Have a question that wasn’t covered? Please Ask Woodman in the comment box below. I will be happy to answer you!

{ 0 comments }

Are Your Eyes Worth $1 Each? Mine Are!

by AskWoodman on May 20, 2010

If you do any operation long enough you will inevitably have an accident, it’s the law of probability.

I just finished fabricating my new steel work table, and there were hours and hours of drilling involved. I don’t even know how many cheap drill bits I used for this project, but I know at least seven shattered on me in the process.

One large bit shattered and a piece broke off and hit my safety glasses with such force that my head snapped back.

I would be blind right now in one eye if I hadn’t been wearing my Condor safety glasses. [click to continue…]

{ 1 comment }

The Best Woodworking Finish

April 30, 2010
Thumbnail image for The Best Woodworking Finish

Allan Little explains in his video series the secret to attaining a perfect woodworking finish. Sanding the sequence, making sure the wood is 100% free of embedded particles and sanding residue, applying Waterlox ( a tung old based finish ) and scratching in between multiple coats. Visit AskWoodman.tv to watch all his woodworking videos

Read the full article →

The Coolest Beer Can Crusher Ever

January 30, 2010
Thumbnail image for The Coolest Beer Can Crusher Ever

I know a lot of creative and talented people. My friend and long time Toyota mechanic, Mark Larkin, is one of them. I spend hour upon hour milling wood, sanding or brushing finish which allows my mind to wander to inventions and labor saving devices for my shop. I suspect Mark’s active mind is engineering [...]

Read the full article →

How To Mill Lumber To S4S In 6 Steps

January 18, 2010
Thumbnail image for How To Mill Lumber To S4S In 6 Steps

Flat, straight and square lumber is crucial to starting any woodworking project. Your board has two faces and two edges that must be square and parallel to one another. Four Square, or S4S is a milling term used to describe this. Inaccurately milled wood creates problems that will compound themselves throughout a project. The procedure [...]

Read the full article →

Fast and Accurate Installation of Planer and Jointer Knives

January 17, 2010
Thumbnail image for Fast and Accurate Installation of Planer and Jointer Knives

Many times in the last twenty-five years while planing or jointing, the knife became damaged and caused me to stop working. The second I feel my knives are dull or damaged I place my Makita sharpening stone in warm water. Without missing a beat, I can remove the knives, sharpen them quickly, reinstall them and [...]

Read the full article →

Want Sharp Planer and Jointer Knives?

January 5, 2010
Thumbnail image for Want Sharp Planer and Jointer Knives?

Every new project for me requires milling lumber. Starting off with my planer and jointer knives at their sharpest always sets the right tone. After the design and drawings are done, performing the sequence of steps to bring my knives back to peak sharpness is really rewarding and fun. Watching pro football in my shop [...]

Read the full article →